There is a wonderful addition amongst the rich set of features in PSE 9 -
Layer masks. This was something which was missing in PSE 8. It is a wonderful tool which helps in achieving a lot of good results in different editing operations. This tool is specially helpful for people like me who aren't that precise in selection tools like lasso,quick selection etc. However, are more comfortable with the paint brush and eraser.
In this tutorial, I will be using Layer Masks to move one object from one image and place it on other precisely without using any of the other selection tools in PSE like Lasso, quick selection etc.
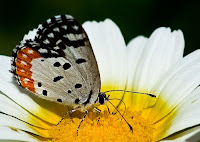
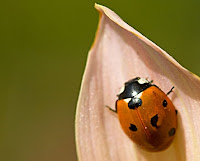
I have the following two pictures : one is butterfly on a white flower and other is a lady bug on a pink leaf. Now I want to place the lady bug from the second picture on the flower leaf of the first picture, next to the butterfly.
1. I opened both the images in PSE 9 Editor.
2. Now I keep the image of butterfly in display in the editing workspace.
Select the
Move tool

from the tools bar and drag the ladybug image from the project bin below over to the butterfly image in the workspace.
3. Now as you see in the image below, the lady bug image comes over the butterfly image occupying a lot of space. Also you would notice that there is a new layer formed in the layers palette which is that of the lady bug image.
Just drag one of the corners of the lady bug image inwards to reduce its size.
Now one can rotate the image of the lady bug by dragging the corner of the image keeping Control key pressed and revolving it through the corners like this.
Click the commit green button when you think that the orientation is correct.
4. Now select the lady bug layer in the layers palette and go to
Layer> Layer Mask> Reveal All.
As you do this you would see that there is one white mask that got created in layers palette.
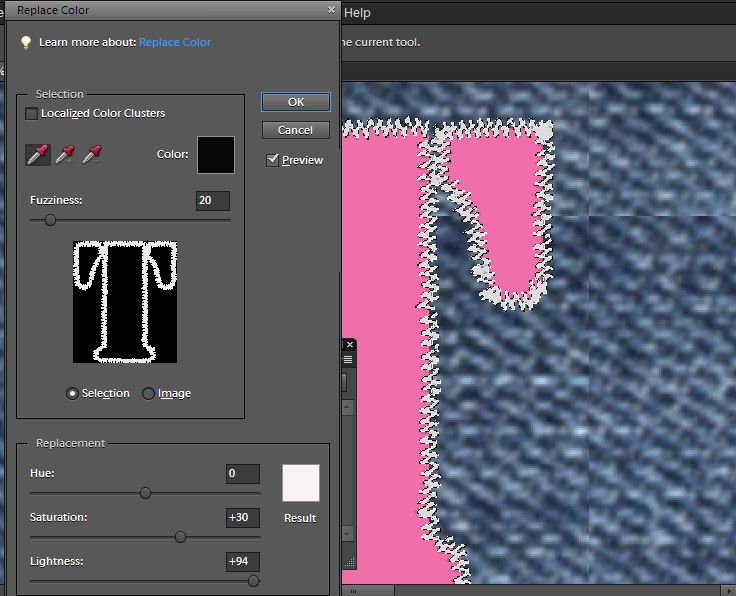
5. Now select the Brush tool from the tools bar and black color selected as foreground color in the color swatch (as shown below). Now brush over the rest of the area of the lady bug layer leaving just the lady bug. This will remove the pink and green background of the ladybug in the layer.
As you click and drag the mouse with the paint brush you would notice that some black color gets painted in the white mask in the layers palette. And you would see the pink leaf disappearing.
In case you mistakingly paint any unwanted area or some extra area, you can correct it by changing the foreground color in the color swatch to white and paint over that area again. So you can keep switching between black and white foreground colors in the color swatch to correct your selection.
Also for best results, zoom the image to 200-300% and reduce the brush size when you brushing around the corners of the lady bug to get precision.
Once you are done, select zoom tool and right click -
Fit to screen.
6. Now select the move tool again and move the lady bug over the white flower and change its orientation as per your needs. You may transform it using Control+Shift+Alt and dragging the corners.
Here is my final result ;
Layer Masks can be used in several other workflows like selective editing in a picture or applying filters to some part of the image etc.
Hope you would find it useful too.